| WebOPSS Context-Sensitive Help | Version 3.1 | June 12, 2012 |
Click the link for general information on Templates.
WebOPSS allows an authorized user to easily create various types of authorizing documents and customize them by adding a header and footer to any type of authorizing document template. This is done with two sections, HQ > Templates > Print Templates and HQ > Templates > Print Template Types.
While Print Template Types allows authorized users to simply create or edit the properties of each document type, Print Templates allows users to customize the content of the header and footer in each type. Certain formatting items, such as page numbers or date, can also be added as a data island within the template. (For more information on creating a new document type, see Print Template Types.)
To Edit a Header/Footer:
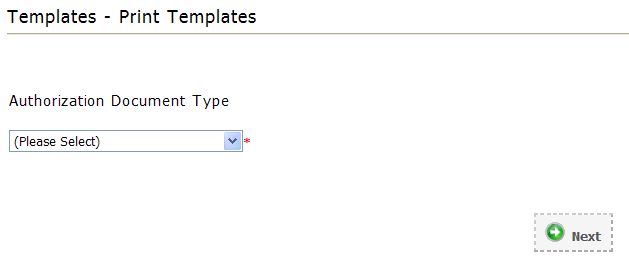
Figure 6.42: Template—Print Templates Wizard
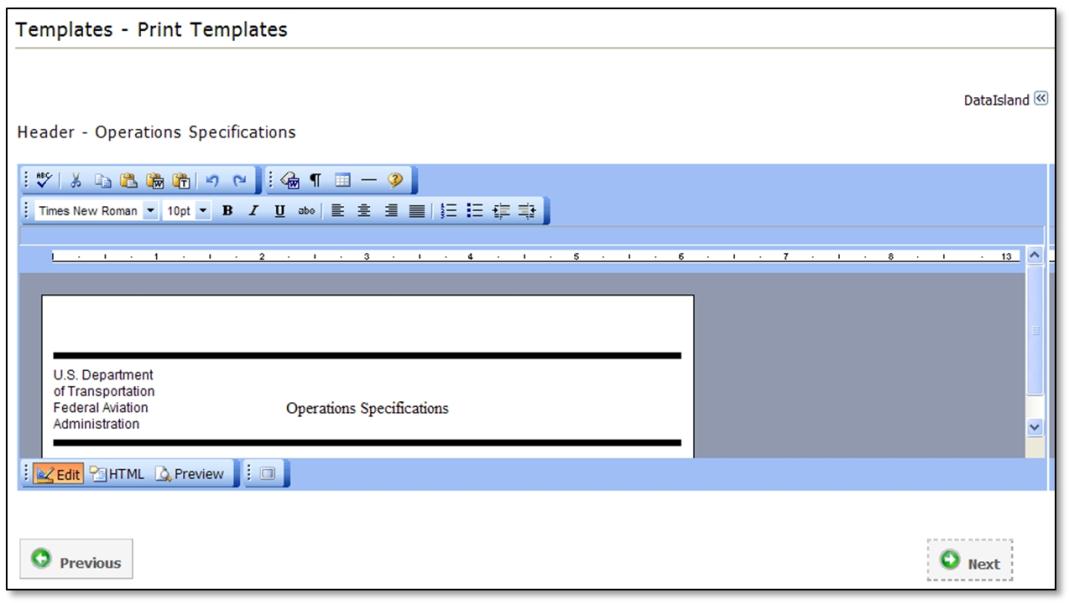
Figure 6.43: Header Text
HINT: The user can change the view of the Header/Footer text by clicking on the buttons at the bottom of the text field. The default view, Edit, allows the user to enter text with common text formatting options available. HTML view allows the user to type HTML code. Preview allows the user to preview the way the text will appear. The Full Screen icon ( ) expands the text field to the entire window.

Figure 6.44: Data Island Selection Area
NOTE: The Data Island drop-down menu will be grayed out (inaccessible) until a Control is selected.
HINT: Bookmarks act as placeholders for items/data. Bookmarks are designed to help a template creator navigate the template more easily; they are especially useful when dealing with templates spanning multiple pages. To allow bookmarks to serve their full purpose, name each bookmark in a manner that easily identifies the desired section; for example, “FAA Regulation checklist.”
NOTE: Columns must have at least 2 rows for the header and at least one row of data.
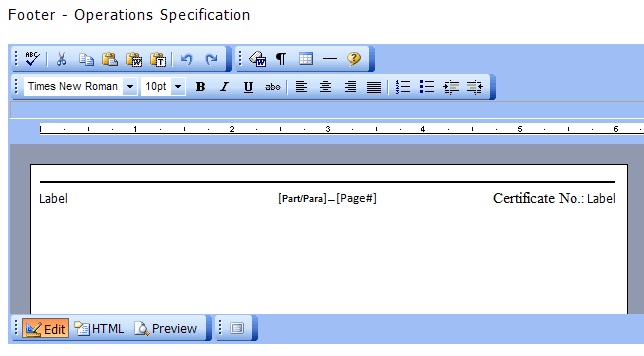
Figure 6.45: Footer Text
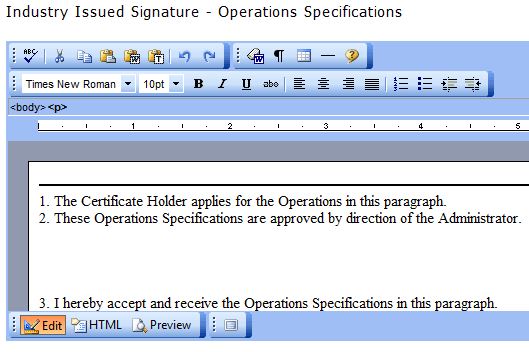
Figure 6.46: Industry Issued Signature Text
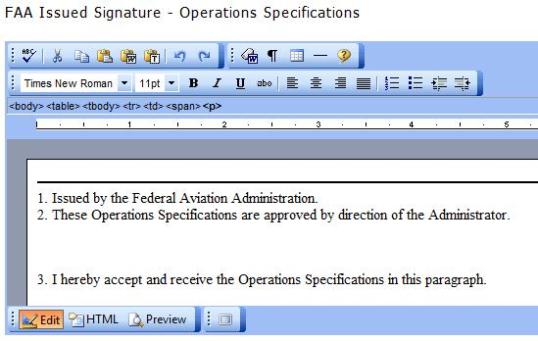
Figure 6.47: FAA Issued Signature Text
| Federal Aviation Administration |